Table of contents
Lab 5 - Sensors (with logging!)
Last week you got your temperature and light sensors working. Clearly, not optimal for real deployments, but good enough for a reasonable check (especially if you control for sensor interactions).
This week, let’s do some communication and data transfer. We’re going to have your devices use Bluetooth and UART to talk to an app on your phone.
Lab signoff
Before you leave for the day, (minimally) show me:
Data being sent from your Bluefruit to your phone
Additionally, make sure you understand what the final deliverable is!
Make your backup
We’re going to be “starting fresh” and then merging our two scripts. So, backup last week’s code as code.lab4.py and create a new code.py file.
Getting started
No boilerplate today! We’re going to start with getting Bluetooth going and then copy lines over to your lab 4 code.
First, what is UART?
Universal asynchronous receiver-transmitter (UART) is a way to send data, as byte streams, between two endpoints. It is pretty common for communication in embedded systems. The nice thing is that we can use UART to send data over Bluetooth!
Bluetooth
Let’s start off with creating a Bluetooth connection. Unfortunately it isn’t as easy as activating it and joining like you would with your phone or a pair of earbuds. (A lot of this code comes from Adafruit - we’ll be customizing it for data logging though).
First, you’re going to need a library to enable Bluetooth. Copy over the adafruit_ble folder from your downloaded bundle of libraries to your device’s lib folder.
Then, let’s try it out! First, a custom advertisement to make sure it works.
from adafruit_ble import BLERadio
from adafruit_ble.advertising.standard import ProvideServicesAdvertisement
from adafruit_ble.services.nordic import UARTService

ble = BLERadio()
uart = UARTService()
advertisement = ProvideServicesAdvertisement(uart)

while True:
    ble.start_advertising(advertisement)
    print("Waiting to connect")
    while not ble.connected:
        pass
    print("Connected")
    while ble.connected:
        line = uart.readline()
        if line:
            print(line)
That’s the code from Adafruit, with some bits trimmed. It should allow your device to start broadcasting. Pop open a Bluetooth scanner (your phone, laptop, etc.) to see if you can find your device. It’ll be labeled as CIRCUITPYxxxx, where the xxxx is some identifier particular to your device.
Uh oh - there’s 20+ other Circuit Playground devices in the room! How do you know which is yours?

Time to add a name to your device!
I want to take you on a journey of how we all don’t immediately know everything, including professors. This single line of code took me about 6 hours on a Sunday to find - there is no documentation anywhere on the internet and no examples that I can find and nothing code-wise. I was digging through Adafruit’s GitHub repository to see how to make a custom name possible and all I got were esoteric references and code that would eventually break. However, this all star made a video documenting the process: John Park’s CircuitPython Parsec: Bluetooth Naming.
Under the ble = ... line, add the following (changing MYLASTNAME):
ble.name = "MYLASTNAME_Bluefruit"
That’s it. Scan again, you should see yours now! You should also be able to connect as well with little headache.

Communication!
Sadly, the lab computers don’t do Bluetooth. We have a few options here, but we’ll just use our phones for now.
If you want to play around with the app after we’re done, you’ll need custom code running - there are some examples here (note: I was not able to get the NeoPixel controller working as I think it is targeted for a different device): https://learn.adafruit.com/circuitpython-nrf52840?view=all
If you have an Android phone…
Get the Bluefruit Connect app.
If you have an Apple phone…
Note - I don’t have an iPhone and I haven’t tested this
Get the Bluefruit Connect app.
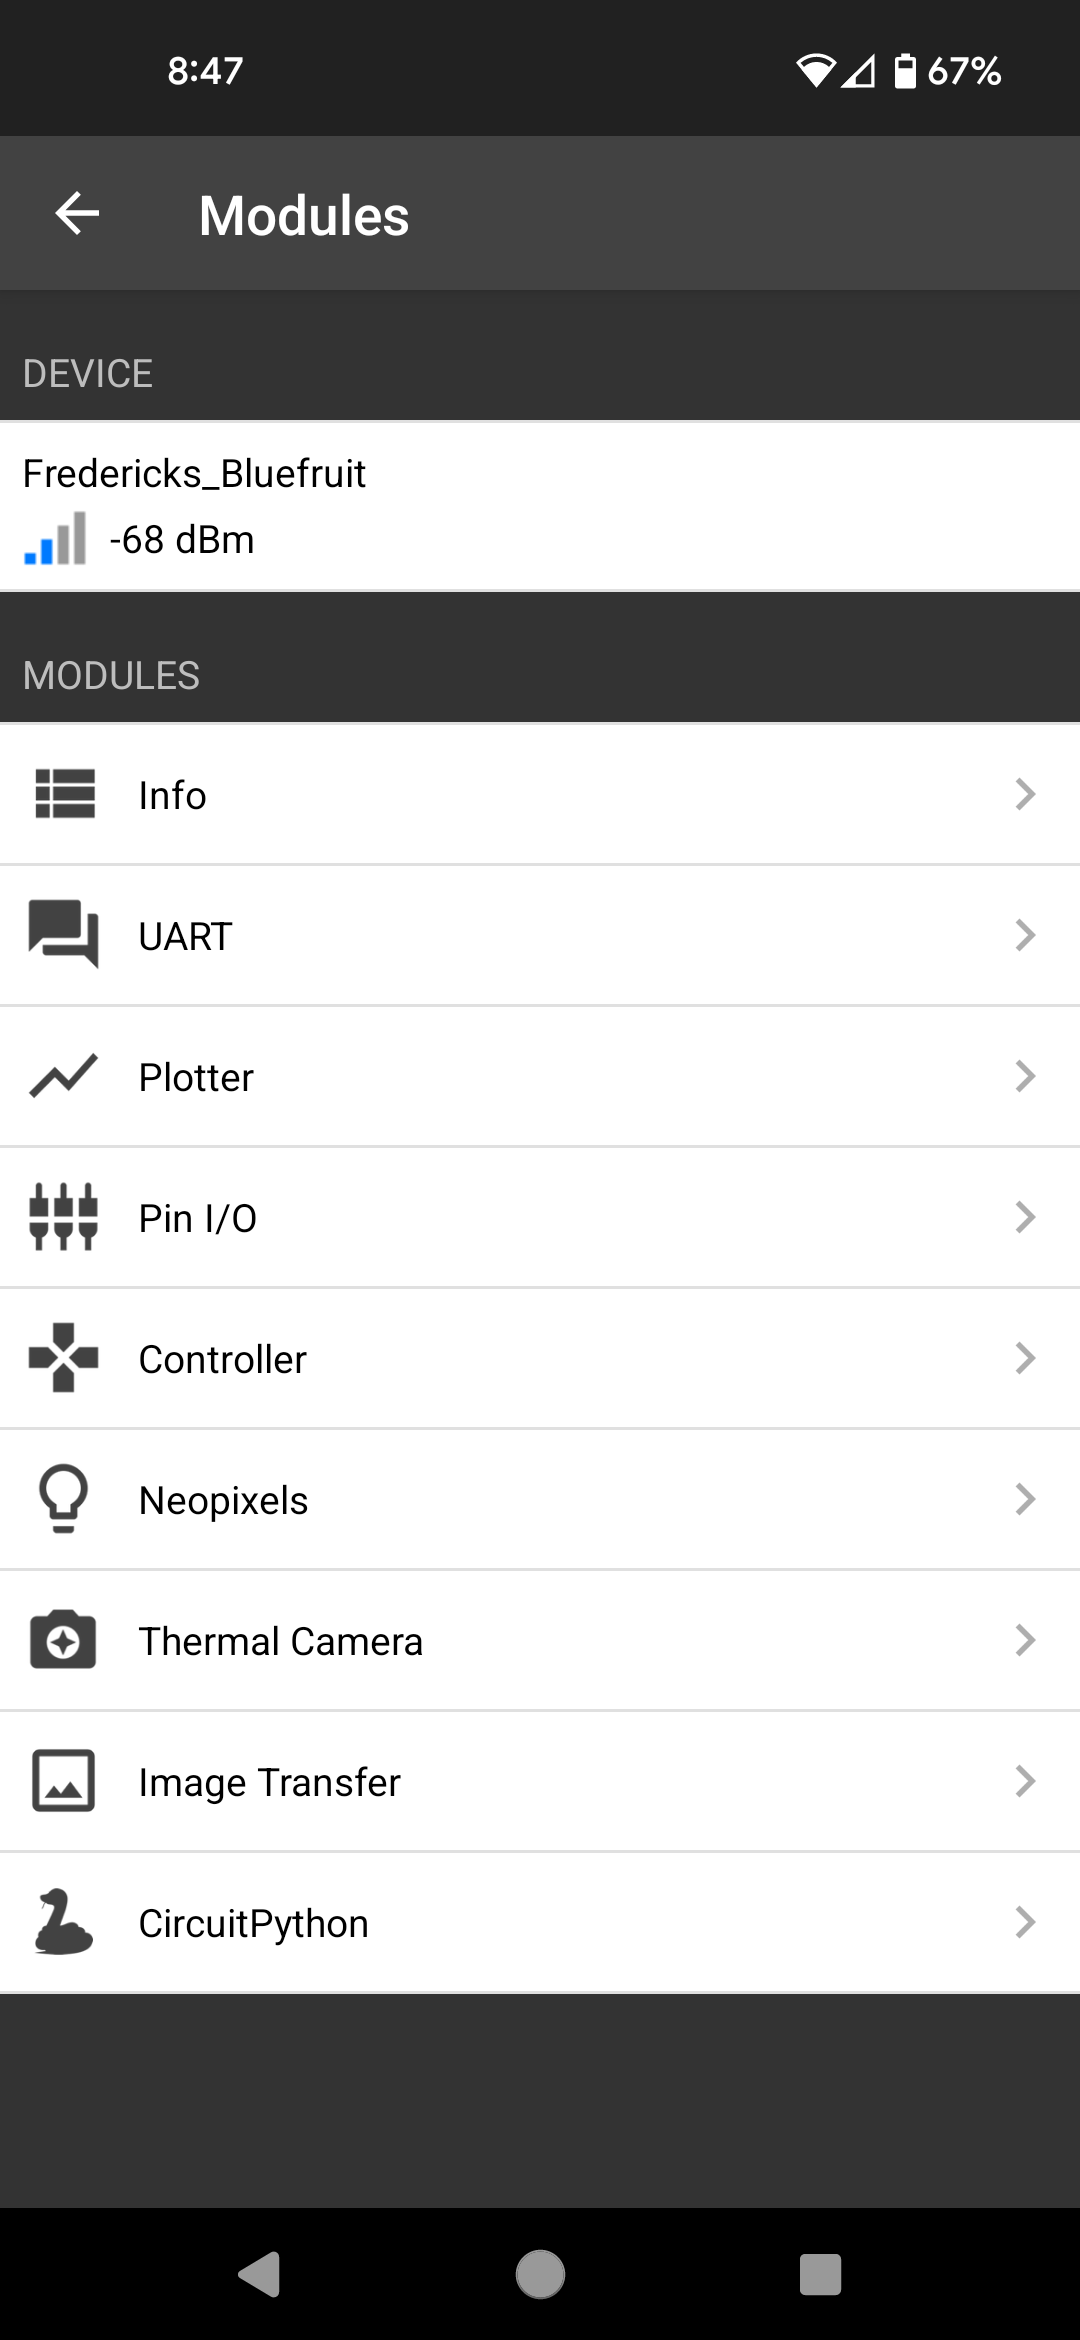
In either app….
Connect to your device! There is no authentication at present - you can just directly connect.
You should have the ability to view data being sent over the UART connection. Right now, it should be pretty empty, given that we’re not sending over anything.
Sending data
For the purposes of this lab, we’re going to consider our devices as sensor motes and your phones as loggers (obviously they aren’t logging anything right now, but we can see data).
Change your loop to read like this:
counter = 0
while True:
    uart.write("Counter: {0}".format(counter).encode("utf-8"))
    counter += 1
    sleep(1)
What should be happening now is that your Bluefruit is sending data over Bluetooth. Look at your phone now and check the UART connection - you should be seeing data streaming now!
A good homework opportunity! While not strictly necessary (i.e., it will generally work without it), why do we need to encode the string as utf-8 (also, what even is utf-8)?
Merging them together
This is going to be somewhat self-directed now, as you have to merge two files.
Where your program should have been as of last week was to record temperature by default and show its output as red on the LED ring. When you press a button it toggles to light and green LEDs.
Let’s get setup now for the final deliverable. Rename your current files:
code.py–>code.bluetooth.pycode.lab4.pyback tocode.py.
You should have your sensor reading code as your main file that runs on startup.
It may be beneficial to make the delays for initializing your sensor readings a bit smaller so that you can work on your code without waiting forever. The numbers were somewhat arbitrary, so feel free to change them.
Your code should still follow the same structure as last time (toggle between temperature and light sensing), however:
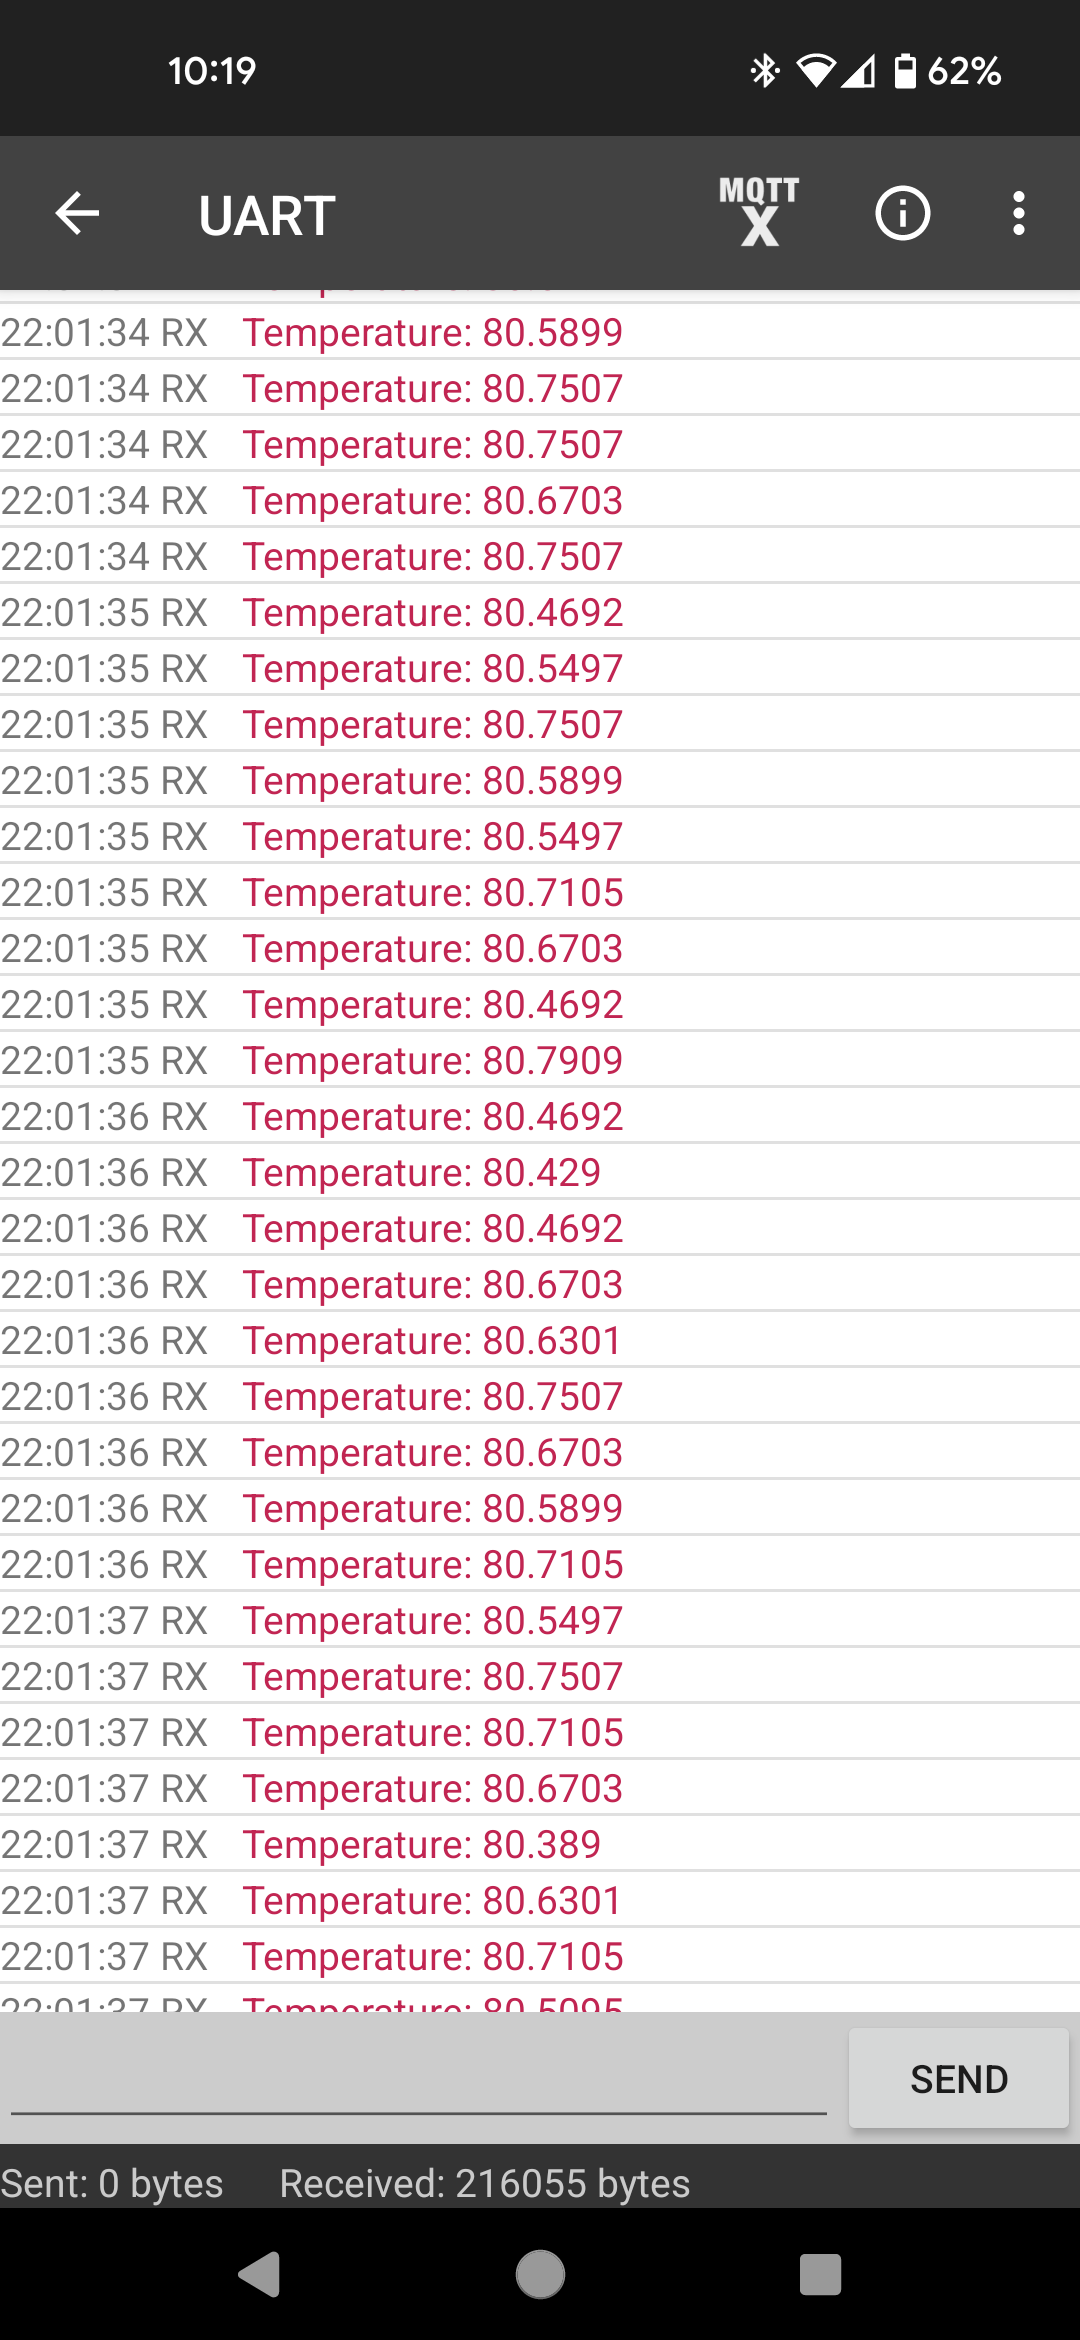
If temperature reading is currently selected, send
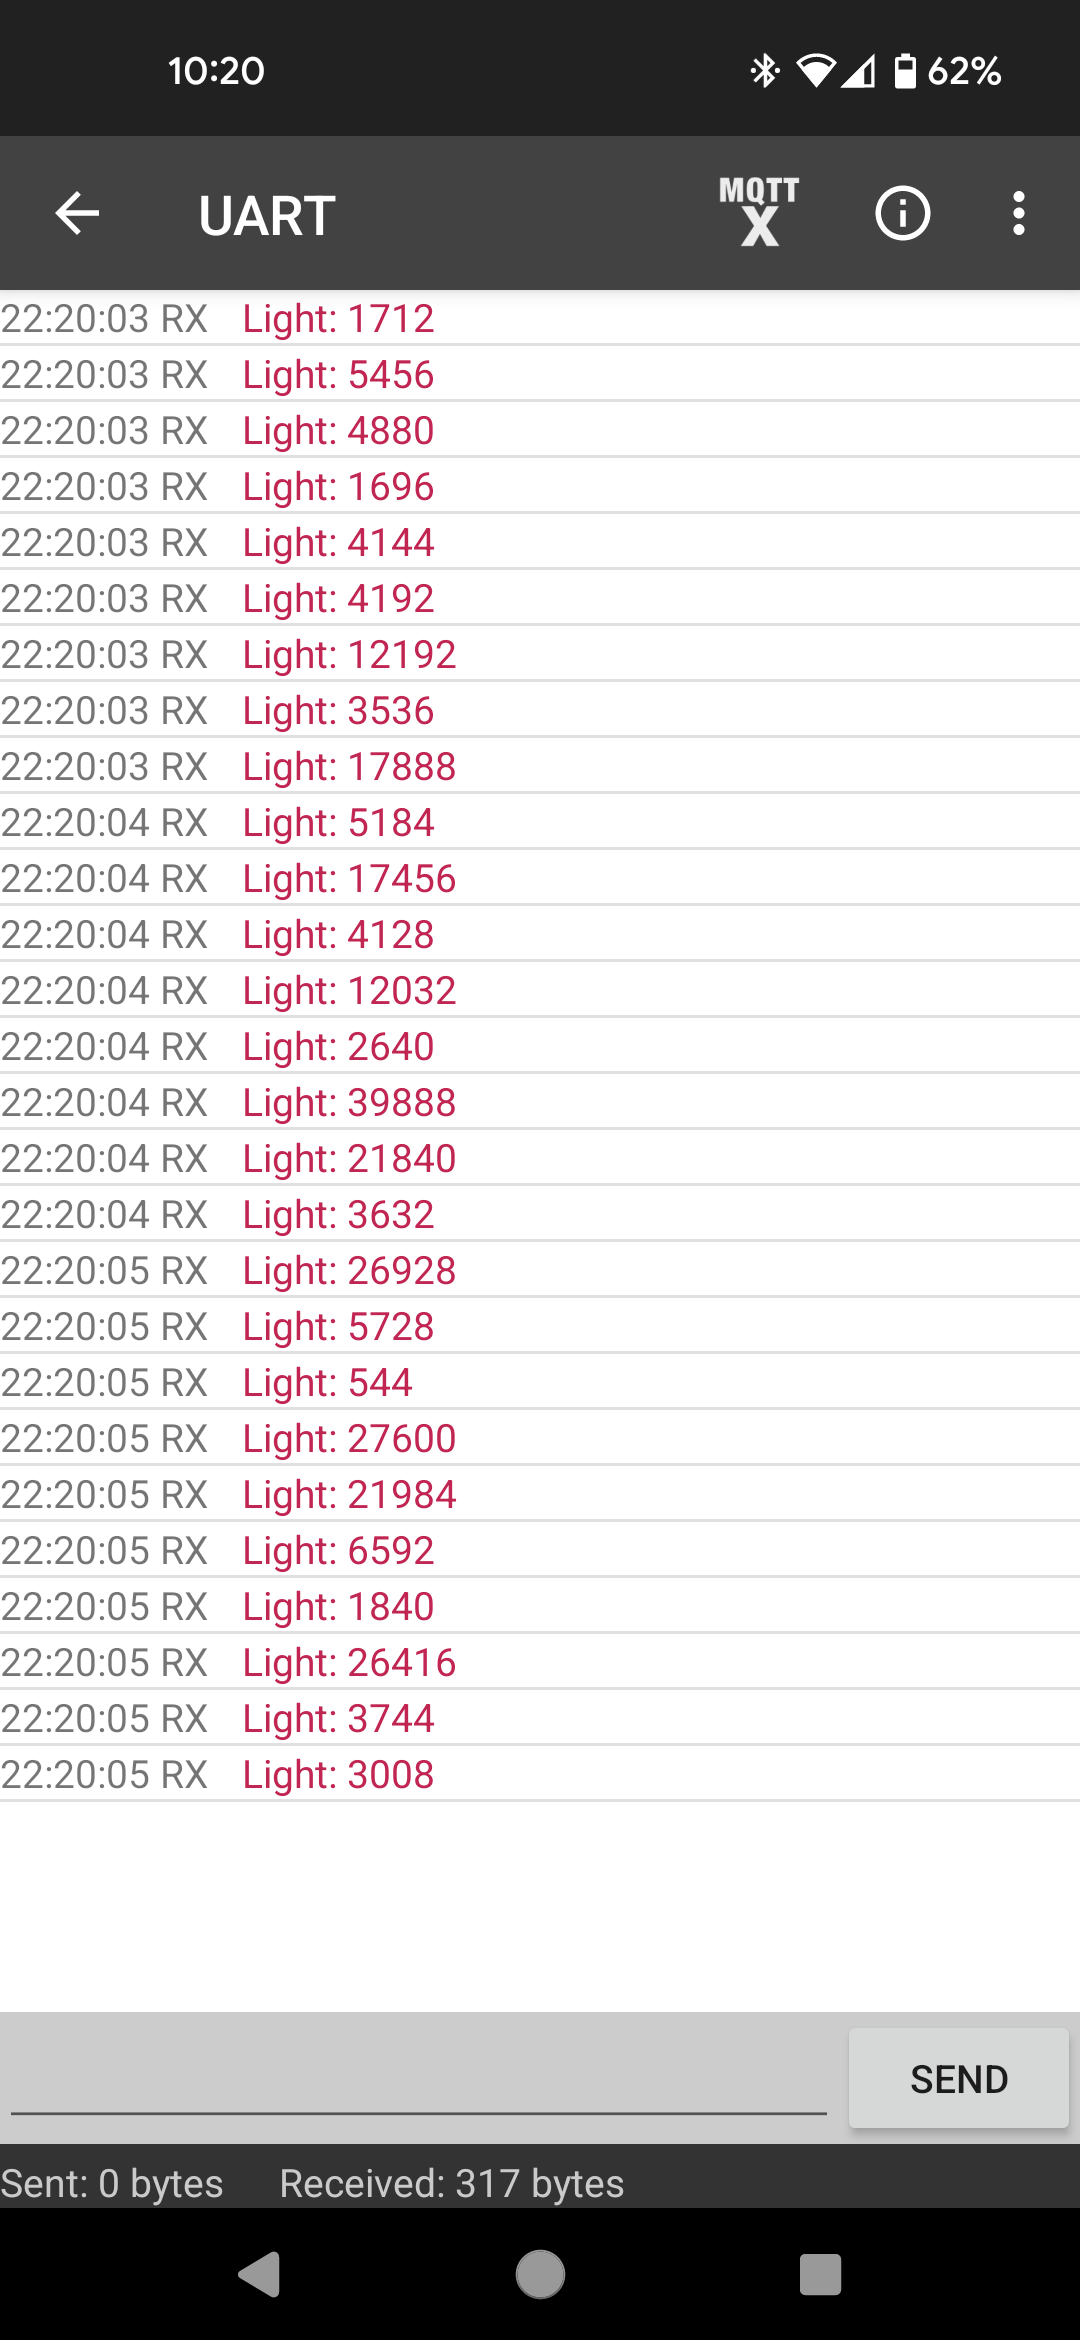
Temperature: <current reading> FIf light reading is currently selected, send
Light: <current reading>
You don’t need to send the counter anymore over UART either - that was just for testing. Also, make sure the angle brackets don’t show up in your output message!
When you look at the app on your phone, you should be seeing temperature and light readings, depending on your button presses.
That’s it!
It should look like this when you’re all done:
Want extra credit? Log some information on your computer!
This will require exploration on your part, however there are some excellent guides up on Adafruit for communicating with Python. Essentially, write a Python script on your laptop that accepts the UART stream that your Bluefruit sends and log it to a file!